Functionality
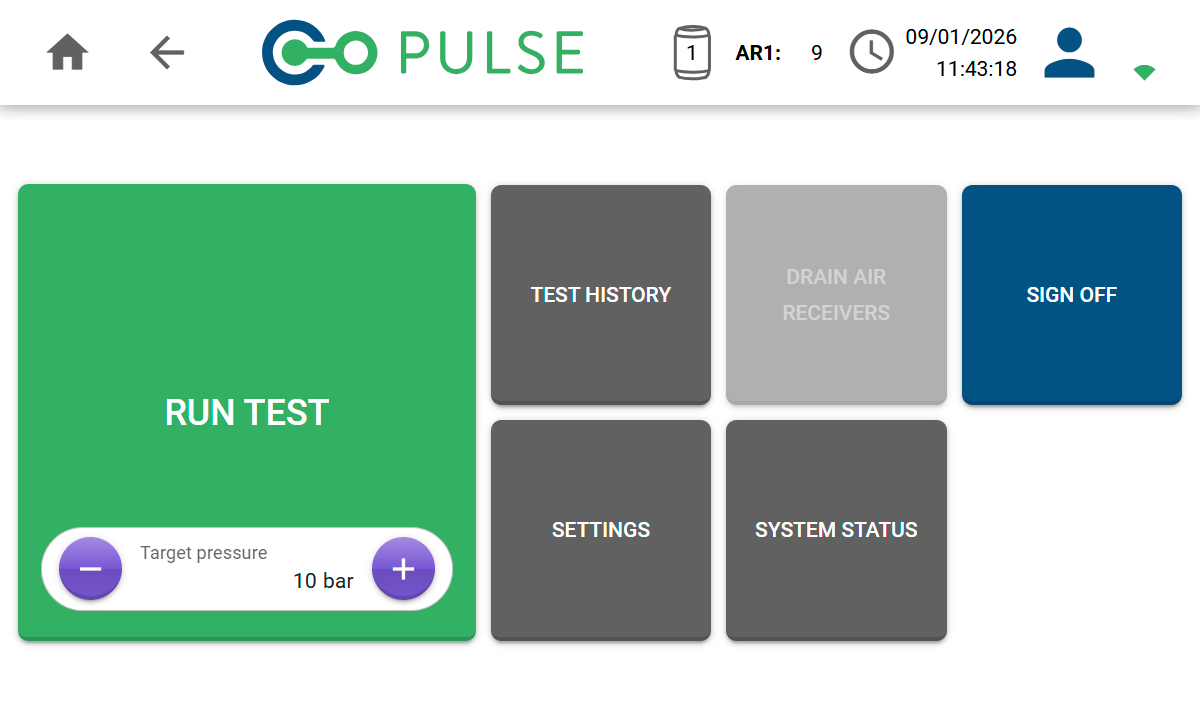
Run Test
Start a new Pulse test by clicking the Run Test button. You will be required to enter information about the building before starting the test cycle.
Test History
The Test History button allows you to view existing test results, as well as upload them to your cloud account or export them to a USB flash drive.
Drain Air Receivers
If you have any old Pulse 2.0 air receivers connected, the Drain ARs button allows you to empty any remaining compressed air from them for transport and storage purposes.
Settings
Enter the Settings area to adjust controller settings, connect to or disconnect from WiFi networks, and manage users and accounts.
System Status
Use the System Status button to view information about the controller and any connected air receivers.
Sign Off
When you have finished using the controller, click the Sign Off button to switch to a different user or log out completely and return to the Login screen.